Removing Heat Tint From Stainless
The straw, purple, and blue discoloration around a stainless weld isn't just cosmetic — it's the most corrosion-prone spot on the whole part. Here's what heat tint actually is, why it matters, and how to take it off without making the problem worse.
If you weld stainless, you've seen it: a rainbow band of color around the bead — pale straw, gold, bronze, purple, blue. Most people wipe it down, decide it looks clean enough, and move on. That's a mistake. The colored band marks metal that has lost the chromium it needs to resist corrosion. Leave it, and that's exactly where the part will start to rust.
This isn't the same job as knocking down spatter or blending a bead flush. Heat tint removal is about protecting corrosion resistance — and doing it with the wrong tool can leave the part worse off than when you started. Here's how to do it right.
01What Heat Tint Actually Is
Stainless steel resists corrosion because of a thin, invisible layer of chromium oxide on its surface — the "passive layer." It's self-healing, and it only works if there's enough chromium in the metal to keep forming it.
When you weld, the heat-affected zone around the bead gets hot enough to grow a much thicker oxide scale. The colors you see are interference colors from that thickened oxide — the same effect as oil on water — and the color tells you how hot that spot got. Pale straw is the coolest; blue and grey are the hottest.
Here's the part that matters: forming that thick oxide pulls chromium out of the metal directly beneath it. You're left with a chromium-depleted layer under the visible tint — metal that no longer has enough chromium to maintain a healthy passive layer. That's why the tinted zone is the first place a stainless weldment corrodes.
What You're Actually Removing
Removing heat tint means removing the oxide and the chromium-depleted layer underneath it — not just wiping off the color until it looks clean. Get down to sound base metal, or you've left the corrosion-prone layer in place under a shiny surface.
02Why It Matters — Beyond Looks
On a shop bracket that lives indoors and dry, heat tint may never cause a problem. But the further you get from that, the more it matters:
Corrosion starts at the tint. The depleted zone pits and rusts before the rest of the part. In any wet, humid, salty, or chemically exposed service, that's a failure point.
Industry standards require its removal. Food, dairy, beverage, pharmaceutical, and high-purity work routinely specify that heat tint be removed and the surface restored — because a corroded weld is a contamination point. Architectural and marine stainless care for the same reason: staining and pitting are visible and permanent.
"Tea staining" is often heat tint left behind. Those brown rust blooms that show up on stainless railings and fittings months later frequently trace back to weld discoloration that was never properly removed.
03Read The Color: Tint Severity Chart
Color maps to how hot the metal got, which maps to how deep the oxide and depletion run. Lighter tints clean up fast with fine abrasives; darker tints need more removal to reach sound metal.
| Color | Severity | What It Tells You |
|---|---|---|
| Pale Straw | Light | Lowest heat. Thin oxide, shallow depletion. Cleans up with fine non-woven finishing. |
| Gold / Straw | Light | Still light. Fine surface conditioning blends it to a uniform finish. |
| Bronze / Brown | Moderate | Deeper oxide. Start with a medium non-woven or convolute grade, then blend fine. |
| Purple / Violet | Heavy | Hot zone. Real depletion beneath. Needs deliberate removal to reach sound metal. |
| Blue | Heavy | Very hot. The classic "blue weld" band. Deepest tint before scaling begins. |
| Grey / Black Scale | Severe | Heavy oxide scale, often from poor gas coverage. May need coarse cutting or pickling first, then blend. |
04The Three Ways To Remove It
There are three routes. Each has a place. This is an abrasives guide, so the mechanical method gets the detail — but you should know all three so you pick the right one for the job.
Mechanical
Abrasive removal with non-woven and convolute finishing products. Removes oxide and depleted layer, leaves a uniform satin finish. No chemicals, full operator control. The default for fabrication and MRO.
Chemical
Pickling paste or gel dissolves the oxide and depleted layer with acid. Effective on heavy scale and complex shapes, but hazardous, slow, and comes with strict handling and disposal rules.
Electrochemical
Weld-cleaning machines use current and an electrolyte to clean and passivate in one pass. Fast and clean on accessible welds, but equipment cost and consumables put it out of reach for occasional work.
For most shops, mechanical removal is the right answer: no acid handling, no special equipment, and you can control exactly how much you take off and what finish you leave. The rest of this guide covers doing it well.
05The Mechanical Method, Step By Step
The goal is to remove the tint and the depleted layer beneath it, then blend the cleaned area into the surrounding surface — all while keeping the metal cool enough that you don't create fresh tint in the process.
Start With Clean, Stainless-Dedicated Abrasives
Never touch stainless with an abrasive, wheel, or brush that has been used on carbon steel. It embeds free iron that rusts later and stains the part. Dedicate your stainless abrasives and keep them separate.
Match The Grade To The Tint
Light straw and gold: go straight to a fine non-woven finishing product. Bronze, purple, and blue: start with a medium non-woven or convolute grade to cut through the oxide, then step finer.
Cut The Tint, Not The Part
Use light, even pressure and keep the tool moving. You're removing a thin layer, not grinding. Non-woven and convolute abrasives cut cool — leaning on them just wears the product and builds heat.
Blend To A Uniform Finish
Step to a finer grade and work the cleaned zone into the surrounding grain direction so the repair disappears. On brushed stainless, match the line direction; on satin, match the sheen.
Verify You Reached Sound Metal
No visible color, uniform surface, consistent finish. For critical corrosion service, mechanical cleaning is the setup step for passivation — covered below.
A grinding wheel or coarse flap disc will take the color off fast — and take too much base metal, leave deep scratches, and build enough heat to re-tint the surface you just cleaned. Non-woven and convolute abrasives remove the tint layer, run cool, and leave a finish you can actually hand off. Cutting aggressive here creates two new problems for every one it solves.
06The Mistakes That Ruin The Job
Do
- Keep stainless abrasives dedicated and iron-free
- Remove the depleted layer, not just the color
- Work cool with light pressure
- Blend into the surrounding grain and sheen
- Passivate afterward for corrosion-critical parts
Don't
- Reuse a wheel or brush that touched carbon steel
- Wipe off the color and call it clean
- Grind hard and re-heat the surface into fresh tint
- Leave a bright patch that stands out from the finish
- Assume mechanical removal alone restores full resistance
07The Right Pro-Graad Tools For The Job
For heat tint on a welded assembly, the primary tool is the non-woven surface conditioning disc — quick-change discs that mount on a die grinder and get right into the weld zone. They cut cool, remove the tint layer without gouging, and blend to a uniform satin finish. Like the tint itself, non-woven abrasive is color-coded — but by grade, not temperature.
Non-Woven Grade Chart
| Grade | Color | Use On |
|---|---|---|
| Coarse | Brown | Heavy grey/black scale and coating. More bite than tint usually needs — reserve for the worst cases. |
| Medium | Red | Moderate to heavy tint — bronze, purple, blue. Cuts the oxide and starts the finish. |
| Fine | Blue | Light straw and gold tint, and cleaning the zone after the Medium pass. |
| Super Fine | Gray | Final blend to a uniform satin surface — matching the repair into brushed and satin stainless. |
Non-Woven Surface Conditioning Discs — R-Type Quick-Change
Twist onto any male R-Type holder or die grinder. Sold in 25-packs, in 2" and 3".
Coarse — Brown
For heavy grey or black scale and coating where you need to cut before you finish. The most aggressive grade — use it only when the tint has turned to scale, then step finer.
Medium — Red
The workhorse for stainless heat tint. Cuts through bronze, purple, and blue discoloration down to sound metal while running cool — then hands off to the finer grades for finish.
Fine — Blue
For light straw and gold tint on its own, or to clean and refine the zone after the Medium pass. Removes the color without cutting back base metal.
Super Fine — Gray
The finishing grade. Blends the cleaned area into the surrounding grain and leaves a uniform satin surface that matches brushed and satin stainless — the step that makes the repair disappear.
Supporting Tools
Two more depending on the scale of the work — a larger disc for open areas, and a bench wheel for parts you finish off the assembly.
Hook & Loop Discs
4-1/2" and 5" surface conditioning discs for cleaning and blending heat tint over larger panels and open surfaces, mounted on an angle grinder with a backing pad. Coarse and Medium grades. Keep them dedicated to stainless.
EXL Convolute Deburring Wheels
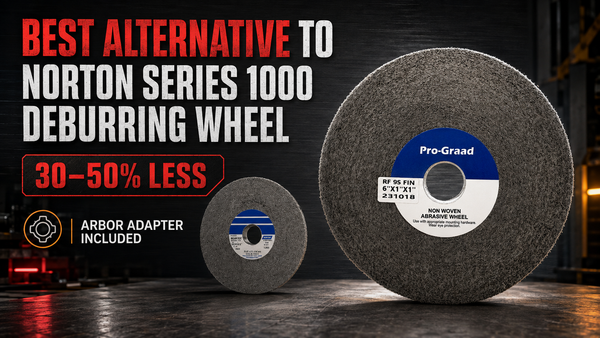
Convolute non-woven wheels for deburring and finishing parts you bring to a bench grinder or backstand. Fine and Very Fine grades put a clean satin finish on stainless edges and faces. Available across a wide range of diameters, widths, and densities.
Light straw or gold: Fine (Blue), then Super Fine (Gray) to finish. Bronze through blue: Medium (Red) to cut, then Blue and Gray to blend. Grey scale: Coarse (Brown) or a pass with a coated abrasive first, then work back up through the grades — and consider pickling for heavy scale in complex geometry.
08You Removed The Tint. You're Not Done.
Mechanical removal takes off the oxide and the depleted layer and gets you back to sound metal. But abrasive work also leaves a fresh, disturbed surface — and for corrosion-critical parts, that surface should be passivated to fully restore and strengthen the chromium-oxide passive layer.
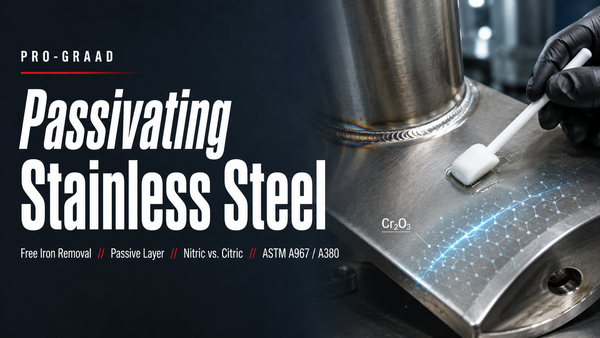
Passivation is a chemical treatment — typically a nitric or citric acid process — that removes any remaining free iron and drives the passive layer to its full protective strength. For food, pharma, marine, and high-purity work, cleaning the tint is step one; passivation is what actually finishes the job.
Our companion guide covers passivating stainless steel start to finish — nitric vs. citric, when it's required, and how to verify it. If you clean stainless welds, that's the other half of this article.
09Heat Tint FAQ
Is heat tint on stainless bad, or just cosmetic?
It's not just cosmetic. The colored band marks metal that has lost chromium to the weld heat, which reduces corrosion resistance in that zone. In wet, humid, salty, or chemical service, heat tint is where the part starts to rust — so for anything but dry indoor use, it should be removed.
What do the colors mean?
They're interference colors from the oxide layer, and they map to temperature. Pale straw and gold are the coolest and lightest; bronze and purple are hotter; blue is the hottest before heavy grey or black scale. Darker color means deeper oxide and more chromium depletion to remove.
Can I just wipe or polish the color off?
No. Wiping removes the surface but leaves the chromium-depleted layer underneath, which is the corrosion-prone part. Proper removal takes off both the oxide and the depleted metal beneath it to reach sound base metal.
Why can't I use a regular grinding wheel or flap disc?
You can remove the color that way, but you'll usually take off too much base metal, leave deep scratches, and build enough heat to create fresh tint. Non-woven and convolute abrasives remove the tint layer while cutting cool and leaving a uniform finish.
What is iron contamination and why does it matter?
If you use an abrasive, wheel, or brush that has touched carbon steel, it embeds tiny iron particles in the stainless. Those particles rust and cause brown staining weeks later. Always use abrasives and tools dedicated to stainless.
Do I need to passivate after removing heat tint?
For corrosion-critical parts — food, pharma, marine, high-purity — yes. Mechanical removal gets you back to sound metal, but passivation removes any remaining free iron and restores the passive layer to full strength. For dry, non-critical parts, mechanical cleaning is often enough.
Built For The Work. Priced For The Worker.
Cut the tint, blend the finish, protect the part. Non-woven and convolute abrasives built for stainless.
Shop Stainless Finishing